


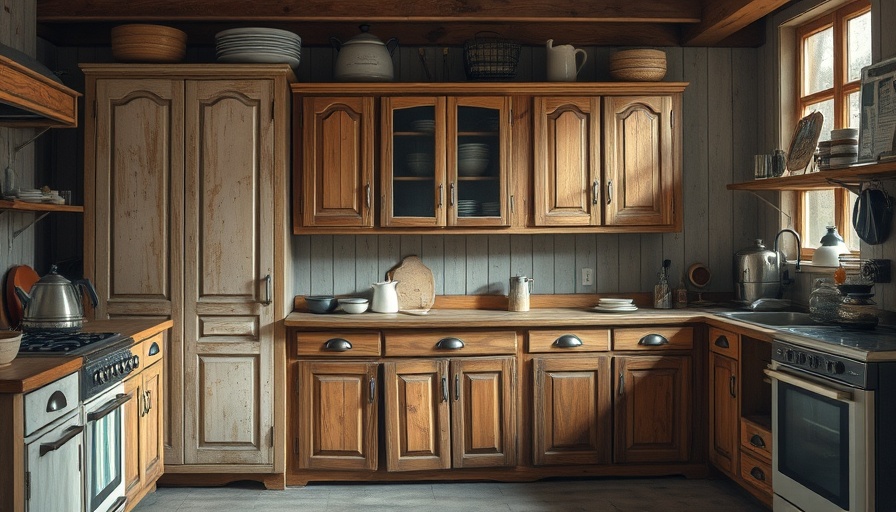
Reviving Your Old Cabinets: A Simple Cleaning Guide
Kitchens are the heart of the home, but often, the cabinetry takes a hit as time marches on. From pizza sauce stains to greasy fingerprints, old kitchen cabinets can turn from chic to shabby in no time. While a complete cabinet replacement can be costly and time-consuming, a thorough cleaning might just revive their former glory. Working alongside insights from professional cleaners, we delve into the essential steps to rejuvenate your kitchen cabinets and restore your kitchen’s ambiance.
Understand What You’re Working With
Your cleaning journey begins not with the scrub brush, but with a bit of cabinet investigation.
“Assess the cabinet’s surface – is it wood, veneer, or painted MDF?” advises professional cleaner Matty from Wayfinder Cleaning Services. This initial assessment informs your choice of cleaning product and technique. Don’t fall into the trap of using harsh chemicals on a sensitive surface; knowing what material you’re tackling is vital to avoid damaging your cabinets further.
For interiors, emptying out cabinets gives you the chance to declutter. “Having everything out is perfect for a deep clean,” Matty points out, suggesting this is also a great opportunity to clean your cookware, ensuring everything’s fresh.
Gather the Right Cleaning Supplies
The right tools are crucial for avoiding further wear on your cabinets. Soft microfiber cloths, non-abrasive sponges, and soft-bristle brushes are key, according to cleaning expert Matt Christou from the Big League Clean Team. “With textured woods, use the smooth side of your cloth to glide along without damaging the surface,” he emphasizes. Together, these tools allow for effective cleaning without the risk of scratches or blemishes.
Whether you're tackling grease buildup or dust accumulation, having the right supplies ensures a successful clean. Invest in a gentle all-purpose cleaner or DIY solutions like vinegar and water for an eco-friendly approach that won’t harm your cabinets.
Step-by-Step Cleaning Process
Armed with knowledge and supplies, it’s time to clean effectively.
Start with the insides. Using your chosen cleaning solution and a lightly dampened cloth, wipe down surfaces, focusing on corners where grime accumulates. Remember to rinse your cloth frequently to avoid redistributing dirt.
Next, move to the cabinet exteriors. “Focus on small sections, using a circular motion to lift dirt,” Matty recommends, highlighting the importance of working methodically for the best results. Once you've cleaned them, consider applying a cabinet wax or polish for added shine and protection.
Protect Your Surfaces
Cleaning isn’t just about getting it done; it’s also about safeguarding your home. Lay down drop cloths or towels to catch any drips from your cleaning solution. “It’s a way to protect your countertops and flooring during the job,” Matty notes, emphasizing that prep can avoid post-cleaning headaches.
Final Touches and Maintenance Tips
Once everything is squeaky clean, step back to admire your work! Touch up any areas that may need extra attention and go ahead and reorganize your cabinet items with some new organizational tools, if you feel inspired.
Maintenance is key; schedule a light clean every few months to keep your cabinets looking their best. Simple solutions like regularly wiping down surfaces and avoiding heavy cooking residue can prolong the rejuvenated look of your cabinetry.
Conclusion: A Cost-Effective Transformational Approach
Cleaning old kitchen cabinets does not have to be a monumental task fraught with complications. By understanding the materials you’re working with and utilizing the right tools and techniques, your kitchen can regain its sparkle without the hefty price tag of a renovation. So, roll up your sleeves and get those cabinets back to their shining glory; your kitchen—and your wallet—will thank you!


Write A Comment